Creating Engaging Online Courses with Live Lessons: Tips and Tricks
Discover how to create engaging online courses with live lessons. This guide offers practical tips and tricks to enhance the virtual learning experience.
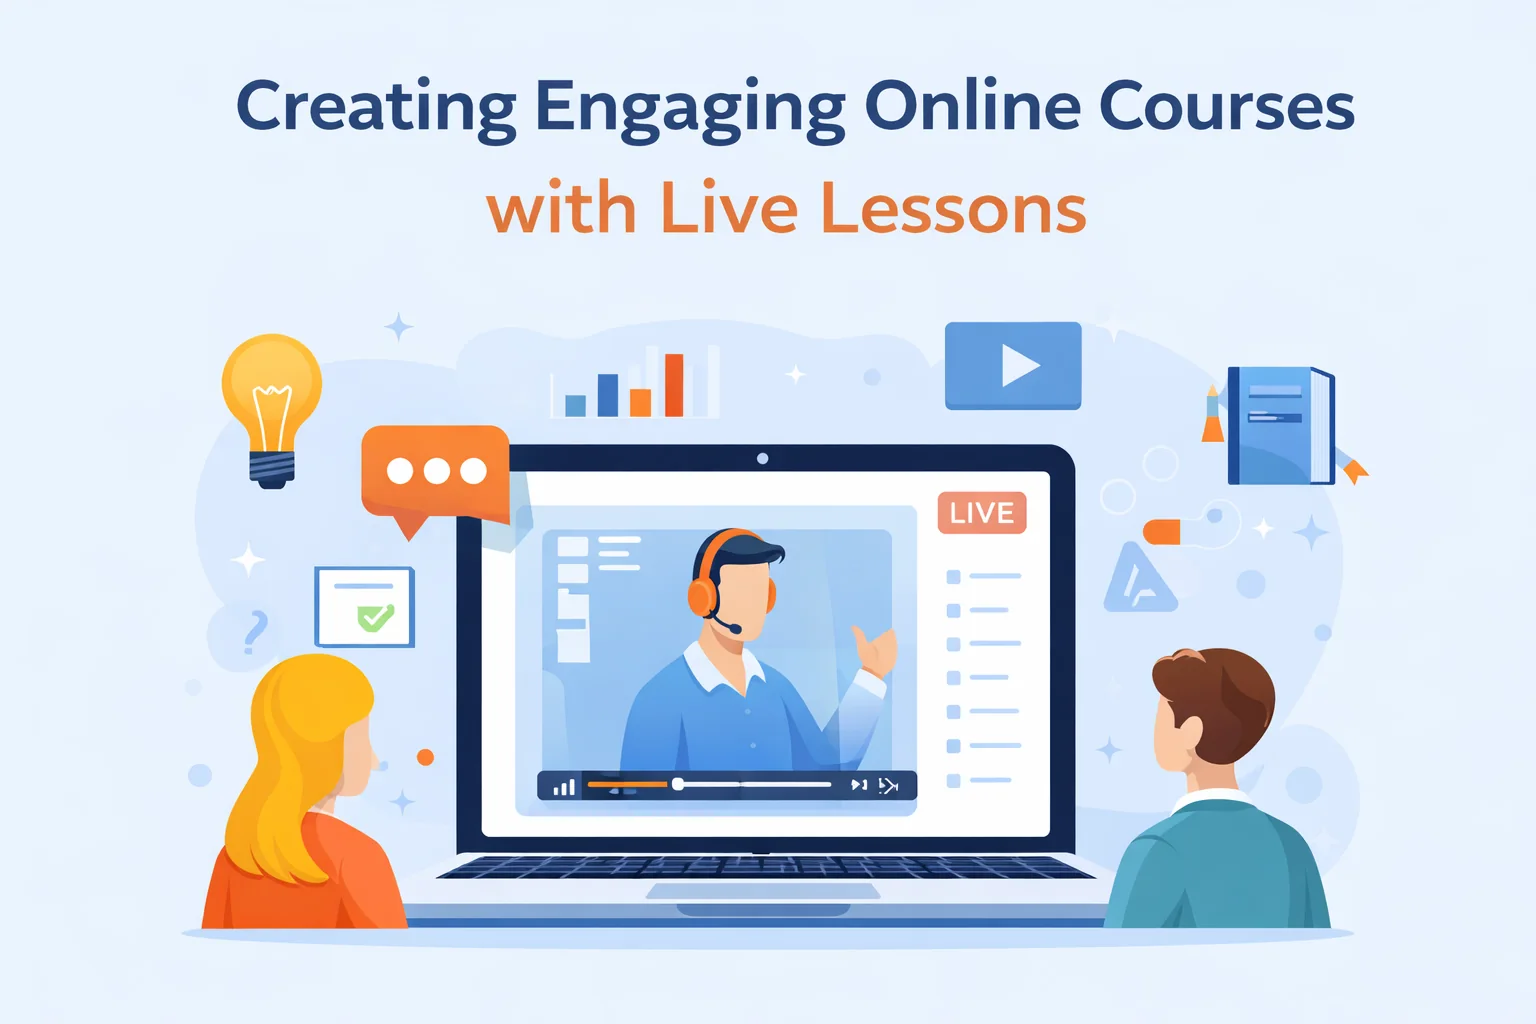
Creating Engaging Online Courses with Live Lessons: A Practical Playbook
The digital age has transformed education, and live online lessons are one of the biggest wins we got from it. Not because “Zoom is convenient,” but because live sessions can do what recorded content can’t: create momentum, accountability, and real-time correction.
But live lessons are also where online courses fail: poor structure, awkward silence, low participation, students dropping after Week 2, and the classic “Can you repeat that?” loop.
This guide breaks down how to run live lessons that feel like a real classroom—without turning you into a full-time entertainer or tech support.
The Power of Live Lessons in Online Education
Bringing the Classroom to Life Virtually
Live lessons shine when you use them for the things that benefit from real-time presence:
- Diagnosis: quickly see what students actually understand (not what they claim to understand).
- Feedback loops: correct misconceptions immediately before they harden into habits.
- Accountability: a schedule creates commitment; a cohort creates social pressure (the good kind).
- Energy + trust: students stay longer when they feel seen and supported.
The mistake: trying to cram your entire course into live sessions.
The win: use live sessions for interaction and clarity, and move “pure explanation” into reusable materials (slides + short videos + text summary).
A good rule:
If it can be explained once and replayed, record it.
If it needs interaction, do it live.
Preparing for Live Online Teaching
Mastering the Technology
The fastest way to lose student trust is to look unprepared. You don’t need a studio. You need consistency.
Your “minimum viable setup”
- Internet: stable connection; if possible, wired Ethernet.
- Audio: a basic USB mic or good headset beats any webcam upgrade.
- Camera: any modern laptop camera is fine if lighting is decent.
- Lighting: face a window or use a simple ring light.
- Backup plan: phone hotspot + a short “if I drop, do this” instruction.
Pre-class tech checklist (2 minutes)
Before every session:
- Close bandwidth-heavy apps (cloud sync, downloads).
- Test mic input and volume.
- Open slides + links + tools in tabs заранее.
- Turn on “Do Not Disturb” mode.
- Put a “Plan B” message into chat (“If the call drops, rejoin via this link…”).
Student tech onboarding (saves you 30% of chaos)
Create one short message students see before Lesson 1:
- recommended browser/device
- how to join
- how to use chat
- how to ask questions
- “what to do if audio/video breaks”
It prevents 80% of repeated questions.
Structuring Your Live Sessions
Live lessons fail for one reason: no rhythm. Students can’t relax because they don’t know what happens next.
Here’s a structure that works across most subjects (45–90 min sessions):
The “Live Lesson Blueprint”
0–5 min: Arrival + Warm-up
- quick roll call / “type where you’re joining from”
- set expectation: “Today you’ll be able to do X”
- tiny warm-up question (super easy)
5–15 min: Core explanation (short)
- one concept, one framework
- avoid long monologues: explain → ask → check
15–35 min: Guided practice
- students do something (solve, write, speak, analyze)
- you walk through common errors live
35–50 min: Interactive checkpoint
- poll / quiz / “choose the best option and explain”
- students justify, not just answer
50–60 min: Q&A (controlled)
- answer top 3 questions
- park “deep questions” into post-class chat thread
Last 2 minutes: Homework + next step
- what to do next
- where to submit
- what success looks like
Why this works
- students act early (not just listen)
- you diagnose misunderstanding before it spreads
- homework is tied to a clear outcome, not “go practice”
Engaging Students in Real-Time
Interactive Teaching Methods
Interactivity isn’t “let’s talk.” That’s how you get silence.
Interactivity is structured participation.
Here are methods that consistently work:
1) Cold-start participation (no awkwardness)
Use low-friction prompts:
- “Type 1–10: how confident are you?”
- “Pick A/B/C in chat”
- “Write one sentence summary”
- “Give me one example from your life/work”
Start with typing. Then upgrade to speaking.
2) Think → Pair → Share (online version)
- Think (30 sec): students write answer privately
- Pair (2–3 min): small breakout rooms or paired chat
- Share (2–3 min): 2–3 people share examples
This massively increases participation because students rehearse first.
3) Live correction without humiliation
Correct the idea, not the person:
- “This is a common trap…”
- “Here’s why this feels right but breaks…”
- “Let’s rewrite it together.”
If students feel punished for speaking, they stop.
4) “Mini-roles” for group sessions
Assign rotating roles:
- Summarizer (“what did we learn?”)
- Question keeper (“top questions”)
- Timekeeper (“we’re drifting”)
It creates structure and reduces your load.
Personalising the Learning Experience
Live is your chance to make students feel like the course was built for them.
Personalization that scales
- Name usage: call on 2–3 students by name each session.
- Choice paths: “If you’re level A do version 1; if level B do version 2.”
- Micro-feedback: short, specific feedback beats long commentary.
A simple tactic:
Ask one student to answer, then ask another student to improve that answer.
It builds a culture of iteration.
Crafting Compelling Content for Live Lessons
Mixing Media and Teaching Styles
Your goal is not to be entertaining. Your goal is to be unskippable.
Use variety in small doses:
- slides for structure
- live annotation for thinking
- short pre-recorded snippet for “heavy explanation”
- live demo for “how it works”
- quick exercise for learning transfer
Best practice: if you show a slide, ask students to do something with it:
- “Rewrite this example”
- “Choose the best definition”
- “Spot the mistake”
- “Apply it to your case”
Storytelling and Real-World Examples
A live lesson should answer the student’s silent question:
“When will I ever use this?”
Use a simple storytelling template:
- Situation: what problem appears in the real world
- Mistake: what most people do wrong
- Principle: what rule fixes it
- Result: what changes after applying it
Example (any subject):
- “Here’s how students lose points…”
- “Here’s the pattern behind it…”
- “Here’s the 2-step fix…”
- “Now try it.”
Maintaining Student Engagement and Participation
Creating an Interactive Environment
Students participate when:
- it feels safe
- it feels structured
- it feels worth it
Practical rules to set in Lesson 1
- how to ask questions (chat vs voice)
- when interruptions are welcome
- respectful disagreement norms
- “no shame for mistakes” policy
- “camera optional, participation required” (if you want)
And one critical policy:
If students don’t need to do anything, they will do nothing.
So every 5–10 minutes: prompt, check, or task.
Managing Online Classroom Dynamics
Handling the silent group
Use forced-choice prompts:
- “A or B?”
- “Which step is wrong?”
- “Vote: easiest vs hardest part”
Then follow up:
- “Why did most people choose A?”
Handling the “dominant talker”
- acknowledge, then redirect: “Good point. Let’s hear someone else.”
- use structure: “We’ll take 1 comment each.”
Handling mixed levels
Offer two lanes:
- “Core track” (required)
- “Stretch track” (optional)
This prevents advanced students from getting bored and beginners from drowning.
Assessing and Improving Student Learning
Continuous Feedback and Assessments
The best live courses use small, frequent checkpoints.
Use 3 layers of assessment
- Micro-checks during class: polls, quick questions
- Homework after class: practice + reflection
- Weekly checkpoint: short quiz / mini project
This gives you a feedback loop without turning you into a grader.
Homework that students actually complete
- keep it small (15–30 min for most levels)
- make it specific (“do X, submit Y”)
- show a sample “good submission”
- connect it to next lesson (“we’ll use your homework in class”)
If homework is not used, it becomes optional in the student’s brain.
Encouraging Reflective Learning
Reflection makes students aware of progress (retention booster).
Use a simple reflection format:
- “What did you get wrong and why?”
- “What would you do differently next time?”
- “What is still unclear?”
Even 2 minutes of reflection after each lesson increases retention.
Overcoming Challenges in Live Online Lessons
Addressing Technical Issues
Common issues and fixes
- Echo: use headphones
- Low volume: switch mic input / move closer
- Lag: turn off camera or reduce resolution
- Can’t join: provide a second join method (browser link)
Your “teacher panic plan”
If something breaks mid-class:
- send one message in chat: “Give me 60 seconds, do X meanwhile”
- switch to backup (hotspot / restart app)
- continue with a non-tech segment (discussion, written exercise)
Students forgive one glitch. They don’t forgive chaos.
Ensuring Accessibility and Inclusivity
Accessibility isn’t a checkbox; it’s how you keep students from dropping.
Minimum:
- post lesson summary (key points + links)
- provide materials in text form (not only video)
- record sessions (if possible)
- keep tasks clear and scannable
- be mindful of time zones and scheduling
If you teach internationally, always clarify:
- time zone
- session length
- language expectations
Leveraging Platforms for Effective Course Delivery
Choosing the Right Platform
For live lessons, “platform choice” isn’t about branding. It’s about workflow.
A platform should answer:
- where lesson materials live
- where recordings are stored
- where homework is created and submitted
- where feedback happens
- how students pay and re-buy
- how tutoring booking works (if applicable)
If those pieces are scattered across Zoom + Google Drive + Telegram + spreadsheets, your course becomes admin work.
Utilising Platform Tools to Enhance Learning
Here’s how to use platform features in a way that actually improves outcomes:
- Chat as the hub: keep lesson link, recording, homework, and feedback in the same thread
- Automatic recording: students rewatch and you reuse content
- Homework tied to the lesson: less confusion, more completion
- Adaptive assignments: keep mixed-level groups engaged
- Essay/interview grading workflows: scale feedback without losing quality
- Calendar booking for tutoring: remove scheduling back-and-forth
The best setup is when a student can go from:
lesson → recording → homework → submission → feedback
without leaving the platform.
Conclusion
Creating engaging online courses with live lessons is not about charisma or fancy tech. It’s about building a reliable learning loop:
structure → participation → feedback → practice → progress
Use live sessions for interaction, diagnosis, and momentum. Put everything else into reusable course materials and simple workflows. Combine that with steady checkpoints and a predictable lesson rhythm—and you’ll get what most online courses never achieve:
students who show up, participate, and finish.